As part of my stash busting September I am working on my Craftsy BOM project. And I got stumped. I do not like handwork and don't want to do it. So I have figured out a way to skip the handwork and still get the look of English Paper Piecing. So here we go with my first tutorial!
I am working with 2" hexagons so keep in mind that this may not work as well for small pieces...but it is working for this size.

Start with a piece of fabric that is slightly bigger than your template. Either pin or use glue stick to keep the fabric and the template together.

From here trim the fabric to roughly a quarter inch around the template. I go with a little more just for fun.

Now get out those handy dandy Wonder Clips!! With 'regular' English paper piecing you would fold over the edges and baste around this hexagon...thats too much work. Instead fold over the fabric and place a Wonder Clip at each point.

You will end up with some crazy looking thing like this. Place it on your ironing board and spray with starch of some sort.

Then begin pressing. Go around the flat sides of the hexagon first.

Now start removing the Wonder Clips and press down all of the points.

Flip the hexagon over spray with starch and press again. Wait to remove the pins and templates until JUST before you are going to sew the pieces together.

Pins and templates have been removed and we are ready to sew!

Use a small zig-zag stitch that will catch both pieces of fabric.

All sewn together - how cute!
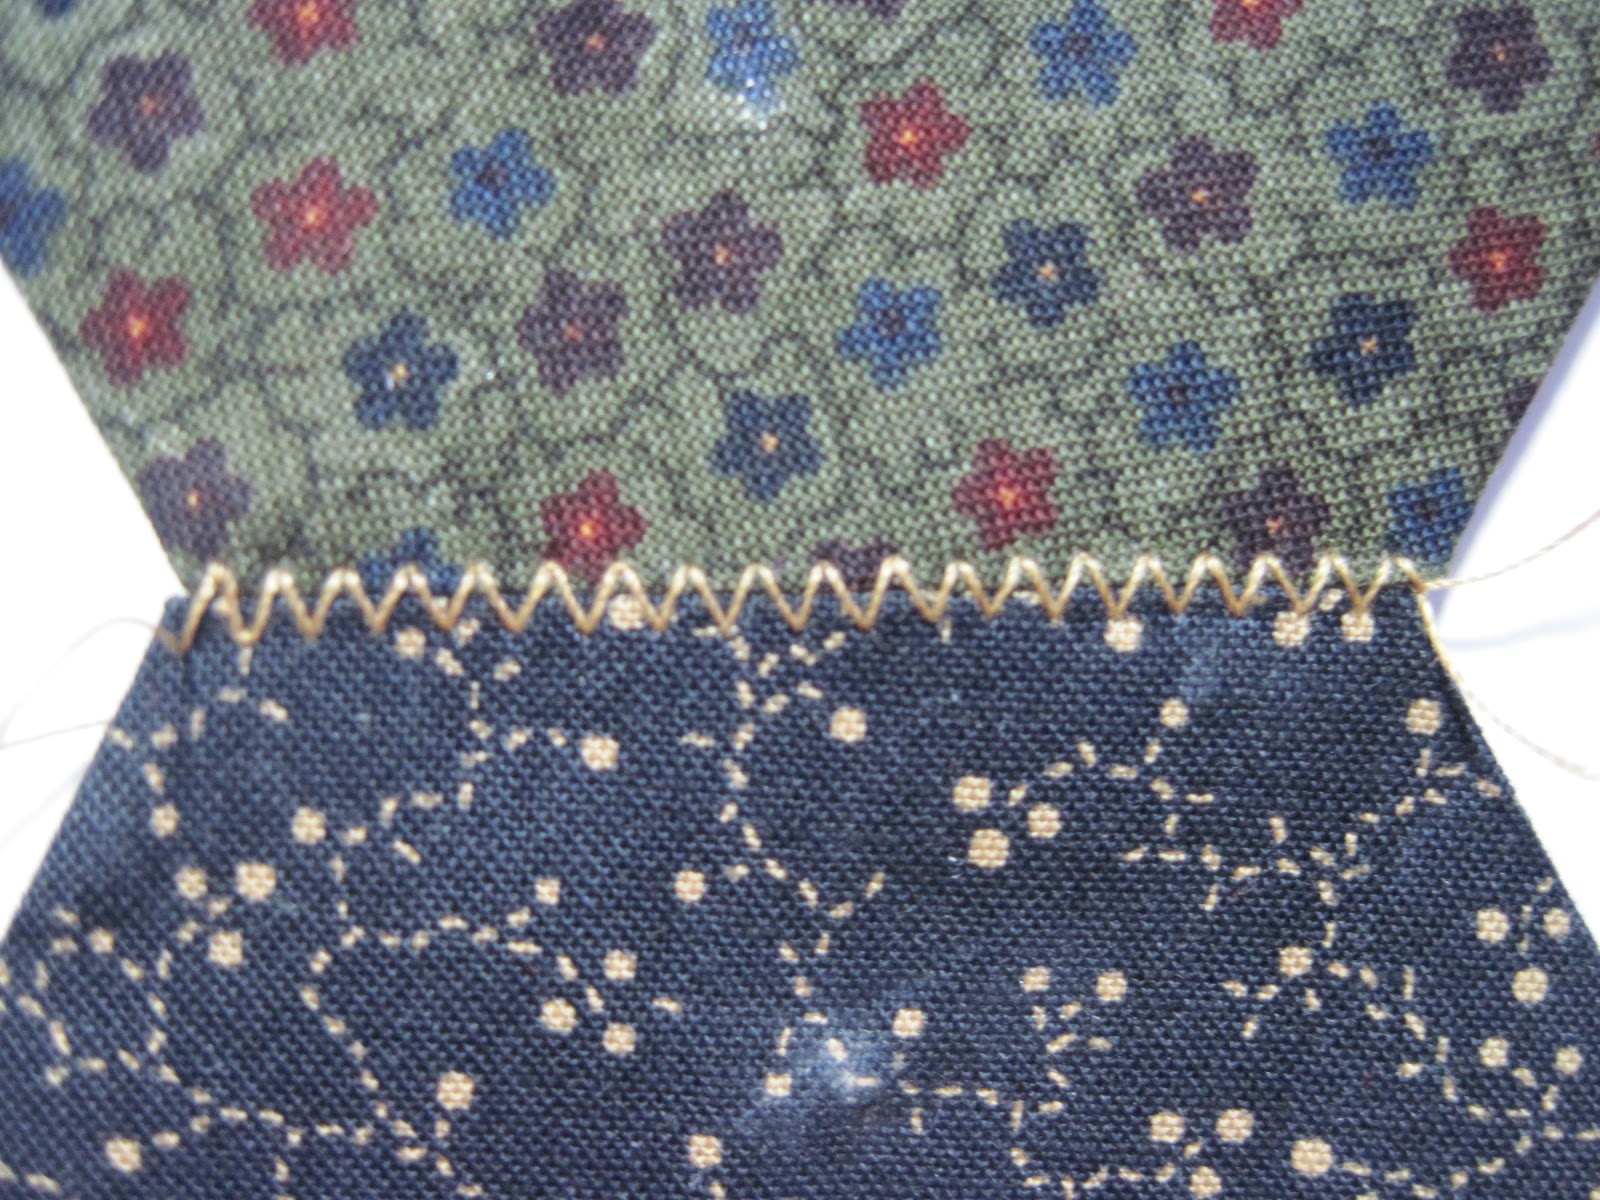
And a close-up of the threads that bind them.
Just keep on putting single hexagons together until you end up with a long chain. You will then be able to set them together side by side and use the same zig-zag stitch :)

The final product -- hurrah!

I hope this helps others out there that don't like handwork but still like hexies!
Have a great rest of the weekend!
Angela
No comments:
Post a Comment